Showing posts with label DIY. Show all posts

Monday, November 19, 2012

for the basurera in all of us...

this is the easiest tutorial i followed! 
will make more of this for myself in the future. 


i quilted the two with my Warm Cotton batting to make it stand up. 
it looks so nice and my sewing is getting better.
almost straight seam lines! :)


this one's slightly bigger. 
 it can also be unfolded to adjust the size.


i'll be giving these as gifts to my handmade giveaway list.
9 remaining and 6 of them are men. as always, it's harder to give gifts to men :(

Wednesday, March 28, 2012

DIY leather purse

i made a leather purse today!

after surfing the web, i finally settled on a simple design.
i hand stitched the sides and then put a snap closure.


the sewing took me less than 30 minutes but installing the closure took hours.
i had to figure out how to install the female part of the snap.  

since i don't have this Snap-All/Rivet Setter...


...i cheated and just super-glued the snap. it worked!


if i had the setter, i'm sure it's supposed to be flat and not elevated. 
but it's still good and i like it!


hope it doesn't come off :D


update (may 3, 2012)

it survived the trip! 


Thursday, March 1, 2012

origami owl lamp

Origami owl lampshade

Materials:
double sided origami paper - 9pcs
decoupage glue used as sealer

For the base:
LED or CFL bulb
cord
chocolate top box covered with black masking tape


almost burned the house down while making the socket.  
i blew up two fuses in the process (master doesn't know yet).


back view; on my decoupaged table


Wednesday, January 18, 2012

Rakenrol lamp!

materials:
film reel
18 gauge copper wire
coffee cup lids (8pcs) for the base
bulb
bulb receptacle
cord
glue


can you see the actors?

i had a different lamp in mind when i started but i ended up with this one. the hardest thing to do for me was how to support the lamp shade. i didn't know what to do so i just coiled some wire and made it adjustable (because i couldn't make it straight haha!). you can make it upright, or slanted, or even higher or lower. 
on my decoupaged table


the shade is not perfectly shaped because i didn't measure (as usual) but it's part of the charm :) now, i have 11 more DIYs to do for my giveaways. it's a good excuse to practice my craft.

top view

oh, Quark doesn't know i have film positives of his film. maybe i should give him this? hihihi

Wednesday, January 4, 2012

sewing machine cover

finally found a use for this fabric my sister sent me from Australia.


before, my sewing machine looks like this...


now,  it's no longer naked! 


i just cut out fabric pieces with the same length, width and height per side 
(i added half inch to make sure) then i just sew them all together.
i also made sure the pattern is not upside down. 

i feel fulfilled! 

Saturday, November 19, 2011

Japan craft stores


first, this is my stash of yarns and washi tapes of different sizes. 
there are more yarns underneath!


i don't know what i'm going to do with them yet. 
i also bought some leather. don't ask me why.


before they all disappear in my memory, i have to list down the places where i bought them so that when i come back (soon!), i'll know where to go!

1. The leather goods shop next to Kinokuniya Shinjuku main store. They sell different kinds of leather goods but they also sell leather. Some are quite expensive but i bought a dark brown sheep leather which was displayed outside for only 1000 yen. 

2.  A shop in Ikebukuro behind Labi building and across a sushi restaurant. I know i took a picture of it's name but i can't find it anywhere. Anyway, it's a washi tape heaven. It's where i bought almost half of my washi tapes. There's also scrapbooking materials, stamps, stickers, etc. I want to go back here. 

3. Cosi Cosi shop in Shibuya. It's near the big crossing. They sell ethnic pieces from Africa and India. The colors in the shop will draw you in. Aside from the beads and stamps, i was so pleasantly surprised to see that they were selling recycled silk yarns for only 420yen per ball. The largest ones cost 820yen. I bought a lot of course! 

4. There are several shops like Cosi Cosi which sell ethnic products. I also found MALAIKA by accident in the Kyoto market. They didn't have the yarns but what made me gush about this store is what's in the 2nd floor: imported silk and other kinds of fabric that i don't know the name of. 

a little blurred i'm sorry. i was excited!
textile heaven, agree?

the patterns! the patterns! i wanted to buy a meter or two but i couldn't choose. finally, i had to leave the shop. but i regret not buying the one of a kind fabric i wanted at the last minute.

5. Yuzawaya in Takashimaya department store. Everything is there! If only i could stay for a whole day, i would. But a guy can only wait for an hour and that's it. I bought a leather sewing kit which includes a leather wallet kit inside plus stamps and leather!

6. Nomura Tailor in Kyoto. I wasn't even looking for it but i found it after Malakai. It feels to me as if it was meant to be. Anyway i bought some scrap fabrics there. i wanted to buy more but i had to stop myself. I had a week to go and I was sure there's plenty more to discover. 

7. Kiwa jewelry making store in Shinjuku. (http://www.kiwaseisakujo.jp/) I think it's in the 5th floor of Lumine 2. It's one of those accidents again. We went to a bookstore and then I found this in the corner. I couldn't stop myself from splurging again. In the end, i had to return some of the items i don't really need :(

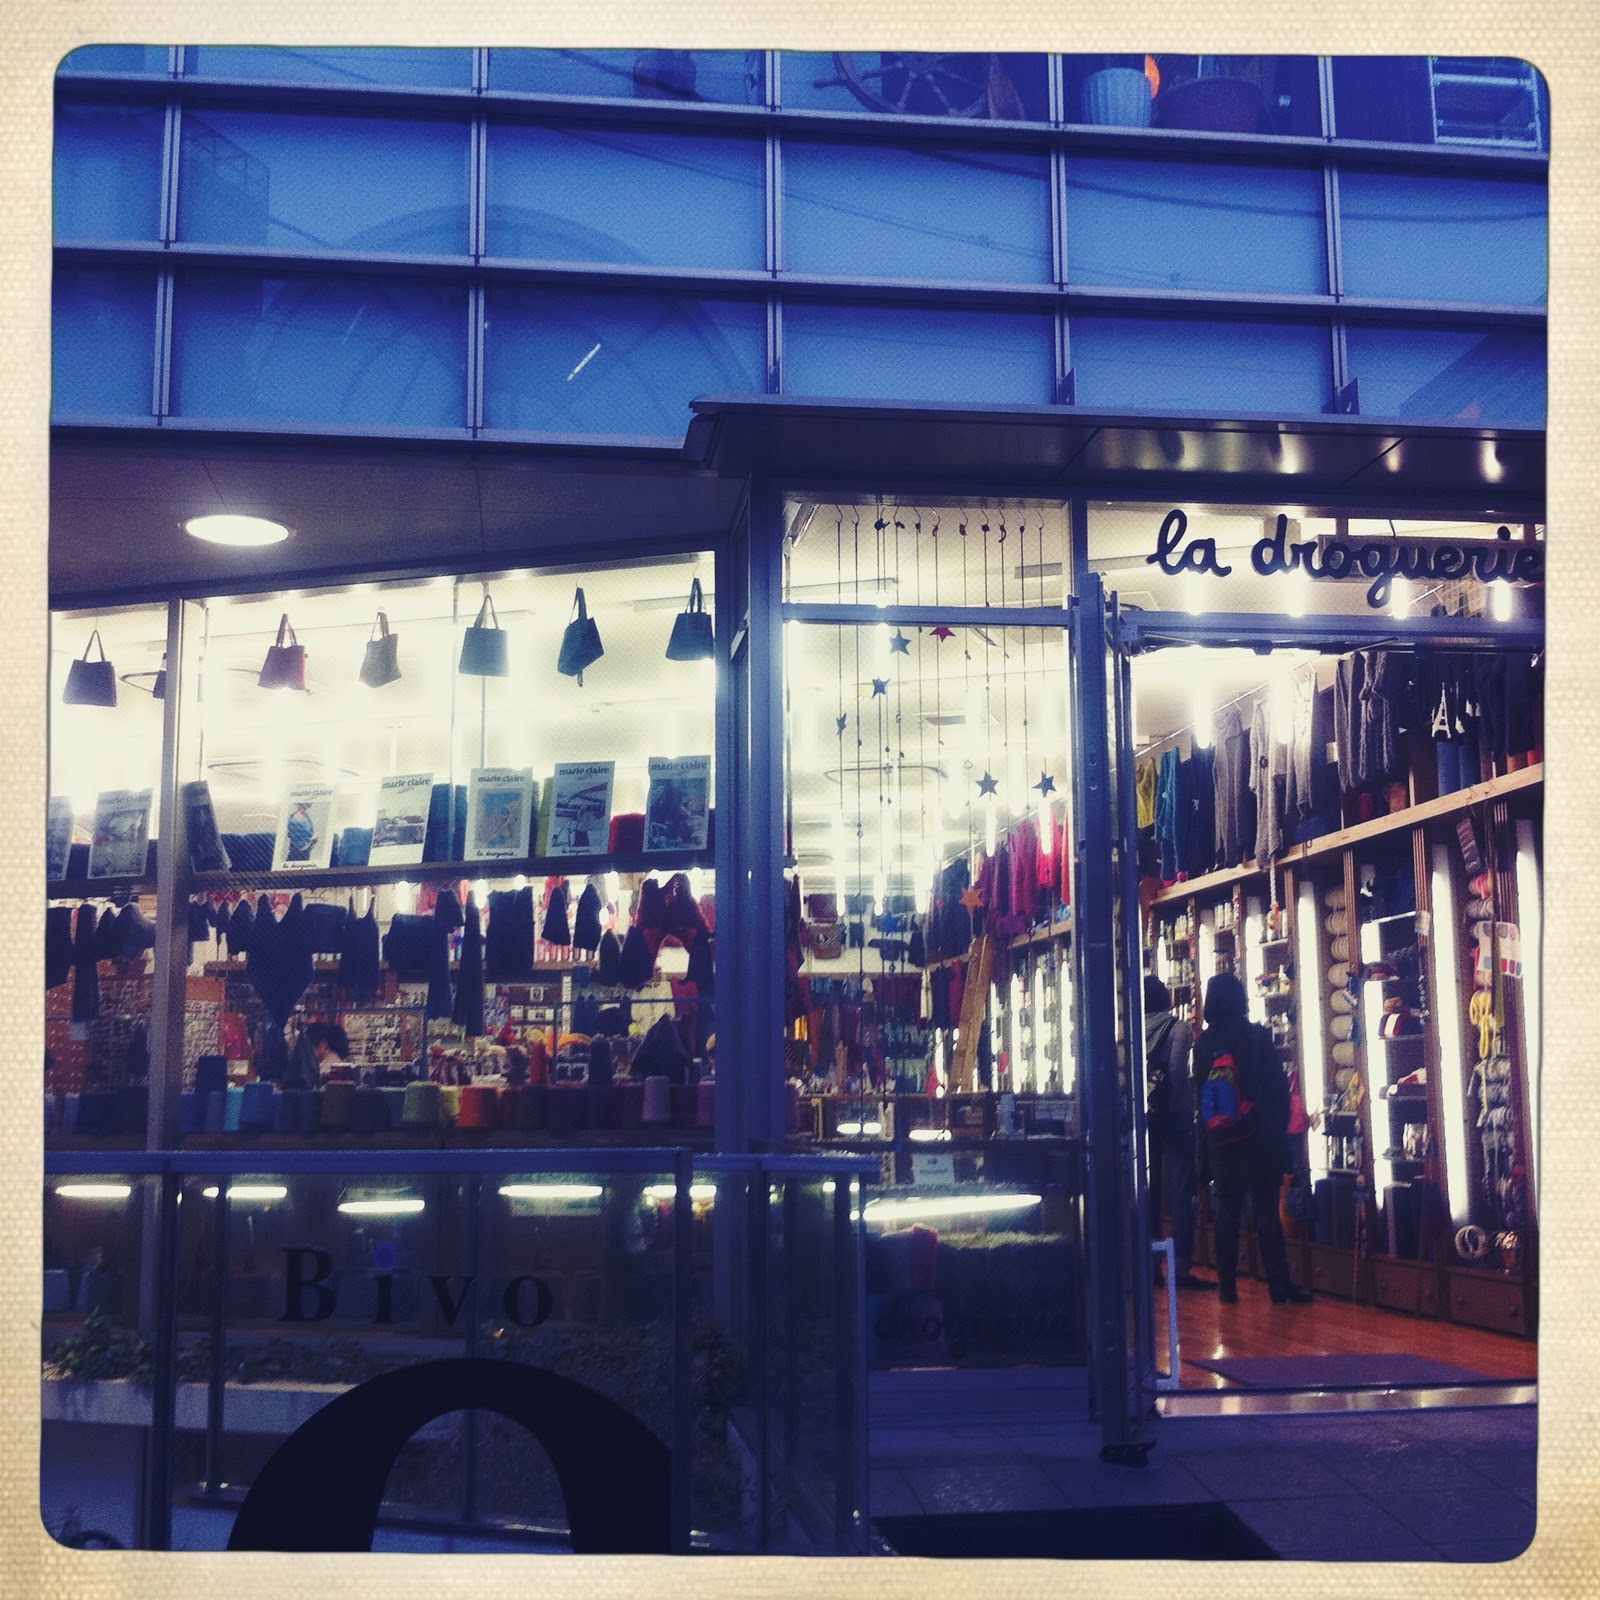
8. I also went to La Drougerie in Harajuku. it's one of the most beautiful craft shops i have been to, if not the best. but what i'm sure about is that it's the most expensive. i didn't buy anything here. sigh. 


9. Itoya in Ginza. washi tapes again! paper and more paper! after looking at the nice things over and over again mulling whether to buy them or not, i decided to leave without buying anything. 

10. I found another store in Osaka just like Cosi Cosi and Malaika. I forget the name. They sell the same things except the textile. This one sells recycled wool yarn and banana thread yarn. I don't know what a banana thread yarn is but i bought some anyway :)

There are other stores which i discovered while walking which I might not be able to go back to again next time. There's this art store in Osaka near Tokyu hands which sells, guess what, washi tapes again and stamps among other things! 

While looking for gum tape for our balikbayan box, we found this book store where i found washi tapes again! It's also where i bought a book on washi tape and their uses. I bought it even if it's in Japanese. 

I'm not worried i'm not going to find them again. There are lots of shops waiting to be discovered. And if there's none, i can always go back to Yuzawaya and spend a day there :)

Now what to do with my stash? 

Wednesday, October 26, 2011

DIY: my first bracelet

finally i used the beads i bought in Wellmanson's Quiapo last Friday!
(to know more about where to buy beads, etc. click here)

Eights A Bracelet!
for this project i used:

20 (or is it 22?) gauge copper wire
no. 03 copper wire (very thin wire)
Swarovski
different beads

i have no system of doing things. i like winging it! even looking at patterns 
or reading and watching instructions on Youtube bore me after a while. 
if i rely on them, i would get bored and maybe not finish my project. 

just as it is when you're writing a script, 
if you think of what the critics will say, stop writing because otherwise
 you'll just end up staring at your computer, not able to write anything. 

in my case, the only one i think of when i write is the audience. 
will they watch it?  will it interest them?
 that's my only desire because after all, 
would you want to tell a story in an empty theater?  

anyway back to my handmade jewelry!

this is my rose rings! 


i plan to make more because i just love it.
but next time, i want to do it using sterling silver wire. 


my fingers hurt but i'm going to sleep happy :)

Monday, October 24, 2011

DIY: pendant

roses are red my love.


so excited i couldn't sleep last night. but i wasn't thinking of my script deadline.
i kept thinking about this business venture and the next step i need to do before i start. 
which is to test the market and earn..


but before i do that i need to make sure my products would sell. 
i'm thinking jewelry is easier to do and has more market 
but i still want to continue recycling/upcycling found objects. 

and i still want to continue making lamps!


i gotta get out of this place. if it's the last thing i'll ever do...


Thursday, October 20, 2011

altering a dress

bought this dress online. when i got it, the color was different.
it's more gray than i expected and it looked boring. 


it was too long too. 
and the elastic waist was too high for me 
so i used the seam ripper to take it off.
and then i added a black cloth 
(which i cut from the hem of the black version of this dress)


here's the detail. i'm not a seamstress (not yet!) 
but i'm quite proud of what i did.
it's not easy!


so i have yet to do the back part. and fix the collar and the hems. 
it's still too big for me! and i'm still researching on how to make it a medium size. 

Thursday, October 13, 2011

DIY canvas sling bag

i made my first canvas bag using my sister brother!


i used the rubber stamp i bought from Deovir and the fabric paints.
then i decorated it with Coca Cola metal bottle caps using Fabric Mod Podge


i painted the cotton rope blue and just tied it along the sides. 
that way, it's easy to adjust the height. 

it's so simple to make especially with a sewing machine!
next time, i wish to make a more complicate bag :)

Tuesday, October 11, 2011

DIY cabinet

today i made a cardboard box cabinet composed of 
3 layers of cardboards of different sizes. 

i'm not proud of it because i think i can do better. 
but this will do for storage room 
while i don't have a cabinet for my materials yet. 


i used decoupage. i enjoy the process of putting on glue everywhere 
but the problem is there are bubbles everywhere!  


next time, i'll decoupage my Muji table with fabric. 


i ordered some items from Deovir Arts. it's the best online shop! (not in my budget but couldn't help it.  they'll arrive tomorrow together with my Fabric Mod Podge! 


for Xmas or my birthday, a gift certificate from Deovir would make me happy!
wink wink!


crash course

Yesterday my first sewing machine arrived with the fabrics. Since last night I started learning how to use the machine. Thanks to youtube! Now, I know how to do the threading, how to change the presser foot, etc. All i have to do is start sewing.

my sister brother is gay :D

But then today i made a book lamp from another instructable instead of sewing (delaying it because i'm not sure what to do with my fabrics and i don't want to ruin them).


I surfed for my next project and before i knew it i was bombarded with lots of techniques and styles on crafting. And i want to do them all so i had a crash course on woodblocking, decoupage, papier mache, jewelry-making all in one night.

I even shopped at an arts store online and i actually reached P7k in materials alone! They're still in my cart and i was able to lower it by half but it's not in my budget right now :-( It's 6am and i have to sleep.

But tomorrow i can't decide if i should sew or go to Recto and buy materials for jewelry or should i do some papier mache first? I need to do something tomorrow because by Wed, i will be working na :-(

I don't want to work. I want to do crafts. Typing this on my iPhone before going to sleep. I'm excited. I want to do this. Only this.

Monday, October 3, 2011

waaaaaaaaaaaaaaaaaaaaaaaah!

ayoko magsulat! gusto ko gumawa ng DIY projects! maloloka na ko!

Monday, September 26, 2011

my first DIY canvas tote bag

the unfinished product


Materials:

canvas cloth
old faded jeans
needle and thread
scissors
ruler
pencil

this one's quite easy to make but it took me about 9 and a half hours to do it BY HAND!!!
my fingers ache as i type this. i wouldn't advise anyone to hand sew a bag! i survived with minor injuries


i'm not happy with the design. it looks too boring. but it's the simplest design i could make with no sewing machine. i have no energy to paint and design it now so that will have to do. but at least i know the basics now and can experiment more next time.

one thing i realized is, i need a sewing machine! gotta buy this one.


Brother CS6000i Sew Advance Sew Affordable
60-stitch Computerized Free-Arm Sewing Machine whew!
it comes with a free table and a hard case for transporting.

Saturday, September 24, 2011

how to make a lampstand

i decided to do the lamp base using wire used for making clothesline and thin wire for binding the two together. i first made a square base then i attached the receptacle for the bulb using two wires connected to two opposite corners. they're thick so they are able to support the bulb and the receptacle. 

this is more difficult than the actual lamp! it took me more than an hour just to do this simple base. my fingers ache from twisting and bending the thick wire. and it's still not perfect but it will do! at least it's standing :)


the color of the lamp is more yellow now. maybe because the bulb is slightly elevated than before.